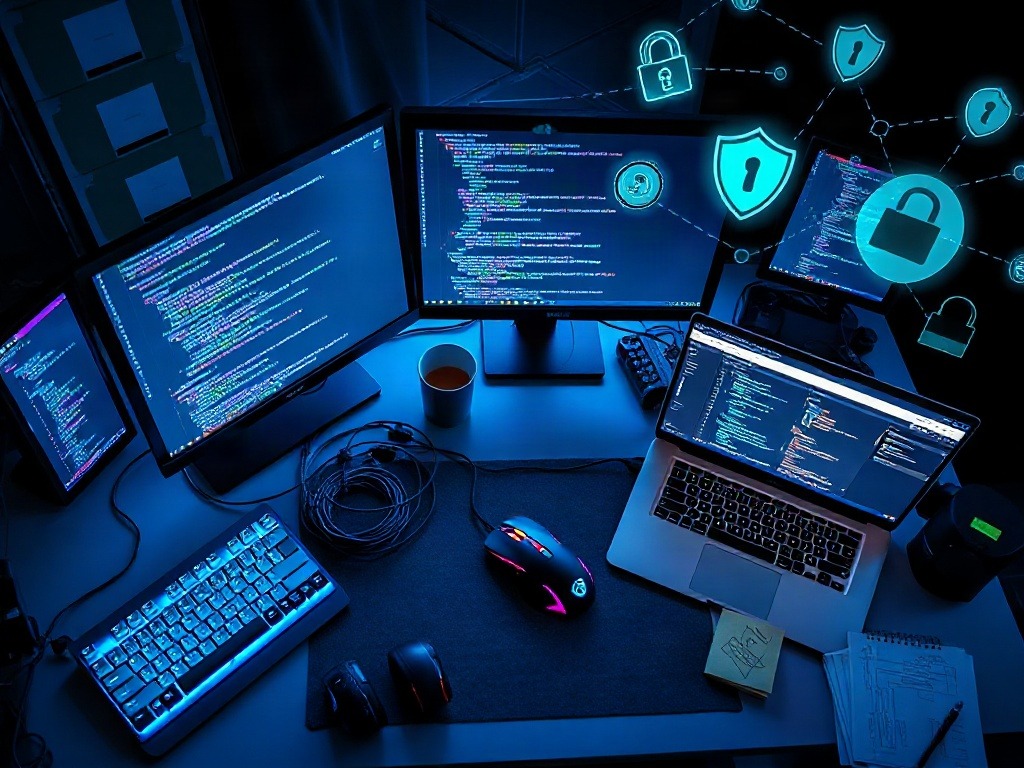
I started my cybersecurity journey in 2019 with a laptop, a dream, and absolutely no idea what I was doing. I burned through ₹200,000 on courses that promised "industry-grade" setups, downloaded random VMs from sketchy websites, and somehow ended up with a system so slow it took 10 minutes to boot a virtual machine.
The thing nobody tells you? You don't need expensive hardware or enterprise-grade infrastructure to learn cybersecurity properly. You need patience, a clear plan, and the willingness to break things intentionally.
Here's exactly how I set up my home lab, what actually made a difference, and what was just expensive theatre.
Start with What You Have (Seriously)
This is the part where I'm supposed to say you need a dedicated server and multiple monitors. I'm going to tell you the opposite.
Your existing laptop or desktop is enough to begin. Windows, Mac, Linux — doesn't matter yet. What matters is that you have something that can run virtual machines without freezing every five seconds.
RAM is the actual bottleneck
If you have 4GB of RAM, stop here. You'll learn, but you'll also learn patience in ways you didn't plan for. I'd recommend 8GB minimum, ideally 16GB if you're serious. Each virtual machine I run typically needs 2-4GB, and you'll want at least 3-4 machines running simultaneously to simulate a real network.
I used to think CPU mattered more. It doesn't. A moderately old processor with plenty of RAM beats a brand-new CPU with 8GB every single time. I learned this the hard way after upgrading my processor and wondering why everything still felt sluggish.
Storage: SSD or regret
This isn't optional. HDD storage will work for a home lab, technically, but you'll spend half your learning time waiting for VMs to boot. A 500GB SSD costs ₹3,000-4,500. Spend it. The time you save is worth more than the money.
Virtualization Software: The Foundation
This is where your lab actually lives. You need software that lets you create and run multiple operating systems simultaneously on a single machine.
VirtualBox vs. VMware vs. Hyper-V
VirtualBox: Free, open-source, works on Windows/Mac/Linux. I started here. It's slower than the alternatives, and you'll notice it immediately when running multiple VMs. But it's free, it works, and there are millions of tutorials for every problem you'll face. If you're broke, this is your answer.
VMware Player/Workstation: VMware Player is free for personal use. It's noticeably faster than VirtualBox — we're talking 20-30% performance improvement in my experience. Workstation Pro costs money but is genuinely worth it if you're serious. I switched to Workstation after my third month and didn't regret it.
Hyper-V: Windows-only, built into Windows Pro/Enterprise. Free if you have the right Windows version. Honestly? I'd avoid this unless you specifically need it for Windows-focused security training. It's overkill for beginners.
My recommendation: Start with VirtualBox. If you find yourself spending more time waiting than learning, upgrade to VMware Player. Don't overthink this step.
Operating Systems: Build Your Practice Network
This is where it gets fun. You're going to create a small network of machines to attack, defend, and break.
What you actually need
Linux: Non-negotiable. Ubuntu Server is free, lightweight, and has massive community support. Download the ISO (2GB file) from ubuntu.com. This will be your main machine for learning penetration testing, networking, and system administration. I'd run at least two instances — one as an "attacker" machine and one as a "target."
Windows Server or Windows 10: You need to understand how to secure Windows systems because, well, most enterprises run Windows. Microsoft gives free evaluation copies for 180 days. Download from their official site. Don't use sketchy ISO repositories — they exist and they're infected.
A deliberately vulnerable OS: Metasploitable 2 or Metasploitable 3 is specifically designed to be insecure. It's intentionally full of vulnerabilities. This is your punching bag. Download it free from rapid7.com. This is where you'll practice actual hacking techniques in a controlled environment.
That's it. Three machines. One attacker, one defensive system, one target. I see people running 10+ machines "to be realistic" and frankly, most of them aren't learning faster — they're just managing more complexity.
| OS | Purpose | Cost | RAM Required |
|---|---|---|---|
| Ubuntu Server | Attacker/Administrator | Free | 2-4GB |
| Windows 10/Server | Defensive Target | Free (180 days) | 3-4GB |
| Metasploitable 2 | Intentional Vulnerabilities | Free | 1-2GB |
Essential Tools (Don't Buy Anything Yet)
Here's where people waste money unnecessarily. Every serious cybersecurity tool you'll need for learning is free and open-source.
The starter toolkit
Kali Linux: Not an OS to run as your main attacker machine (controversial opinion, I know). Instead, use it for specific pentesting tasks. Download the ISO and run it as a fourth VM only when you need specific pre-installed tools. Most beginners spend all their time configuring Kali instead of actually learning.
Metasploit Framework: The industry standard for penetration testing. It's free, it's complex, and it'll teach you more than any course. Install it on your Ubuntu machine.
Wireshark: Network packet analysis. Free. Incredibly powerful. Also incredibly overwhelming at first. Learn this after you understand basic networking.
Burp Suite Community Edition: Web application security testing. The free version is legitimately functional. The paid version adds automation, but you don't need it to learn.
OWASP ZAP: Another web security scanner. Free alternative to Burp Suite. I prefer Burp's interface, but ZAP works and costs ₹0.
Total cost of all tools? Zero rupees. I used to subscribe to premium security software packages because I thought I needed them. I didn't. The free versions taught me everything.
Networking: Actually Connecting Your Machines
You can't learn cybersecurity if your VMs are isolated islands. They need to communicate.
Virtual network modes explained simply
NAT (Network Address Translation): Your VMs can access the internet and each other, but your actual home network can't see them. This is the default and it's safe. Use this for starting out.
Bridged: Your VMs act like separate devices on your home network. More realistic, but also riskier if you're not careful. I'd avoid this initially because if you accidentally run a security tool against your actual router, things get weird.
Host-Only: VMs only talk to each other and your host machine. Most isolated option. This is what I use for actual penetration testing practice because there's zero risk of affecting anything outside my lab.
My setup: Ubuntu attacker machine and Windows target on Host-Only network. Metasploitable also on Host-Only. This is a completely sealed environment where I can practice breaking things without consequences. Start here. Once you're comfortable, experiment with other modes.
Snapshots are your safety net
Before you do anything destructive (which is the entire point), take a snapshot of your VM. This is a backup of its exact state. If you mess something up irreparably, you restore from snapshot in 30 seconds. I cannot overstate how important this is. I learned this after spending 4 hours reconfiguring a Windows Server because I didn't take snapshots and made a catastrophic change.
My Take
Here's what surprised me about setting up a home lab: it's less about having the "right" setup and more about actually using what you have. I know people with ₹200,000 worth of equipment who haven't touched their lab in six months. I know others running old laptops with 8GB RAM who are significantly ahead in cybersecurity knowledge because they actually practice.
What disappointed me was discovering how much conflicting advice exists online. Every security blogger has their "recommended" setup with unnecessary complexity. The truth is simpler: virtualization software (free), one Linux VM (free), one Windows VM (free), one vulnerable OS (free), and three months of consistent practice beats any amount of fancy hardware.
This setup works for college students, working professionals switching careers, and anyone curious about cybersecurity. It doesn't require much money upfront. It does require consistency. You'll feel lost initially. That's normal. The learning curve for cybersecurity isn't gentle, but a home lab is the safest place to climb it.
Verdict
Build your home lab with what you have. VirtualBox + Ubuntu + Windows + Metasploitable. Nothing more. Spend the first month just understanding how these machines work together, then start practicing actual security concepts. The tools are all free. The only investment is time. If you're serious about cybersecurity, stop waiting for the "perfect" setup and start learning with an imperfect one today.
Published by Dattatray Dagale • 28 September 2026





0 Comments